You know the feeling: you walk into a room, and the wallpaper is practically screaming “1993 called, it wants its walls back.” You decide it’s time for a change. But then, halfway into peeling that first stubborn strip, you start to question every life choice that led to this exact moment.
We’ve all been there.
The truth is, wallpaper removing doesn’t have to feel like demolition day. You don’t need industrial chemicals, endless scrubbing, or three days off work. All you need is the right method, a few basic tools, and a solid dose of patience. That’s it.
Here’s how to remove wallpaper the smart way — no stress, no toxic fumes, and no gouging your walls in frustration.
Why You Should Avoid Harsh Chemicals
Yes, there are chemical removers that promise miracles. But here’s what they don’t put on the label:
- The overpowering smell that lingers for days
- The damage they can do to drywall or plaster
- The irritation to your skin, lungs, and eyes
- The risk for kids or pets wandering into the room mid-project
Long story short? Not worth it. Especially when you can get the job done just as effectively with warm water and the right wallpaper removing technique.
Water is the unsung hero of wallpaper removal. It’s gentle, safe, and — most importantly — effective when used correctly.
What You’ll Need (Spoiler: Not Much)
You don’t need a contractor’s toolbox. Most of what you’ll use is already in your home.
The Essential Wallpaper Removing Kit:
- A bucket of warm (not boiling) water
- A sponge or spray bottle
- A plastic scraper or putty knife
- Towels or floor protection (old sheets, plastic wrap, etc.)
Optional: a scoring tool, steamer, and good playlist
Before you begin, prep the space: remove furniture, cover floors, roll up your sleeves, and get ready to channel your inner wallpaper ninja.
Step-by-Step Guide to Removing Wallpaper Like a Pro
Let’s break this down into steps that even a DIY beginner can follow.
-
Soak
Use a spray bottle or sponge to saturate the wallpaper with warm water. Focus on small sections — around 2×3 feet — so the moisture doesn’t evaporate before you get to it.
If the wallpaper is vinyl-coated or glossy, use a scoring tool to create small holes before soaking. This helps water penetrate through to the adhesive layer underneath.
-
Wait
Yep. Just wait. Give the water 10–15 minutes to do its thing. This is where most people get impatient — don’t! Let the adhesive soften properly. The more patient you are, the easier your wallpaper removing process will be.
-
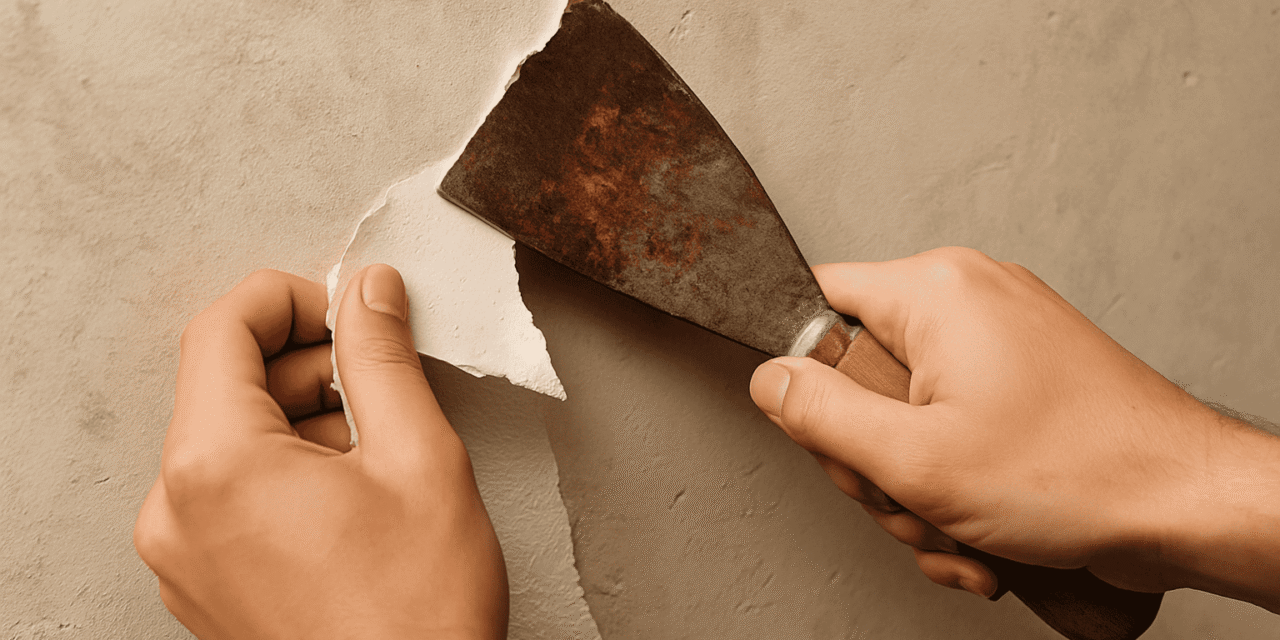
Peel
Gently lift a corner using your scraper. If the wallpaper was applied properly and your soaking time was enough, you’ll be able to peel off large pieces. If it tears easily, don’t worry — soak it again and come back in a few minutes.
Work slowly. Be kind to your walls.
What If It’s Not Working?
Some wallpapers are more stubborn than your ex. Maybe they’ve been on the wall for decades. Maybe someone used superglue instead of paste. Here’s how to handle the tough cases:
Try steam
If you have a garment steamer or a wallpaper steamer, this can be a game-changer. Apply steam directly to the wallpaper for 10–20 seconds, then scrape.
Use the hot towel method
No steamer? Soak a towel in hot water, press it against the wall, and hold it there for a few minutes. The steam will start to break down the glue.
Score deeper, soak again
Sometimes the wallpaper has multiple layers or thick coating. Give it another pass with the scoring tool, then soak again — but don’t go too deep to avoid damaging the wall.
Stay calm
The most important wallpaper removing tool you have? Your attitude. Walk away for five minutes. Breathe. Then come back and keep going.
After Wallpaper Removing: Cleaning Up for the Future
Once the wallpaper is off (congrats!), it’s tempting to jump right into painting or hanging new paper. But trust us: this next step matters.
Clean the walls. There will be leftover glue. Use a sponge and warm water to wipe it all off. Repeat as needed — don’t leave anything sticky behind.
Let it dry completely. Don’t rush. Walls need to dry for at least 24 hours before applying anything new. Otherwise, you risk trapping moisture and creating bubbles under fresh wallpaper.
Patch if needed. If there are scrapes or dings, fill them with spackle or filler. Once dry, sand smooth. Think of it like giving your wall a facial before a big event.
Bonus Tips From the Pros
Start from the bottom up — soaked paper peels more easily downward.
Always test a small area before going all in.
Use two hands when peeling to avoid sudden tears.
Change water often — dirty water can reapply glue to the surface.
And remember: every wall is different. Brick walls behave differently than drywall. Plaster can be delicate. Always adapt your wallpaper removing method based on what you’re working with.
When to Call a Pro
If you’re dealing with layers of old wallpaper, damaged drywall, or you just want someone else to deal with the mess — call a wallpaper installer.
They’ve seen it all. They have the tools. And sometimes, the best DIY decision is choosing not to DIY.
Final Thoughts: No Chemicals, No Problem
Removing wallpaper doesn’t have to be a horror story. With patience, warm water, and the right rhythm, it becomes just another step toward creating a space you actually love.
You don’t need chemical burns, panic, or drywall damage.
You just need to know what you’re doing — and now you do.
So go ahead. Put on your favorite playlist. Roll up your sleeves.
Let the wallpaper removing begin — the gentle, smart, no-nonsense way.